Create and Publish
Your Stories with SoCreate
A fun and visual way to write and publish your story online. Then, when Hollywood comes knocking, one-click export it to a traditional movie or TV script.


A fun and visual way to write and publish your story online. Then, when Hollywood comes knocking, one-click export it to a traditional movie or TV script.
Begin your storytelling journey by crafting stories for movies, TV shows, and shorts. Use rich cinematic imagery for characters, action, and locations as you write in our simple and intuitive visual story development environment. No more starting from a blank page!
Learn more about SoCreate Writer: Explore SoCreate Writer
Gather feedback and notes from friends, colleagues, and the SoCreate Community through a simple link, making it easy to improve your story quickly as you write it.
Dive into the details of SoCreate Feedback: Explore Feedback
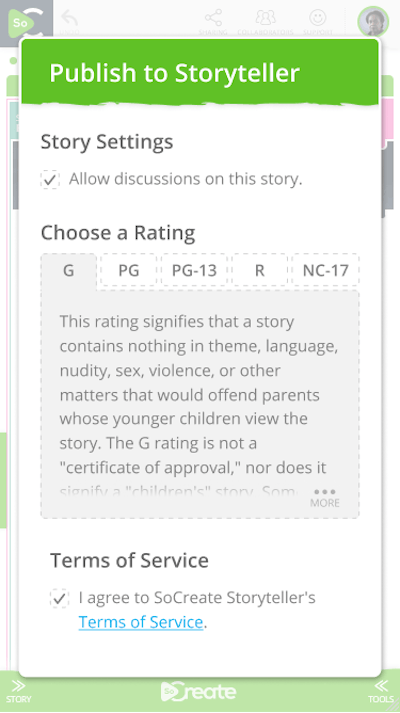
Share your finished story with the world by publishing it to SoCreate Storyteller, our visually immersive story-sharing platform.
Get started writing your story now, so you can publish to Storyteller! Sign up here
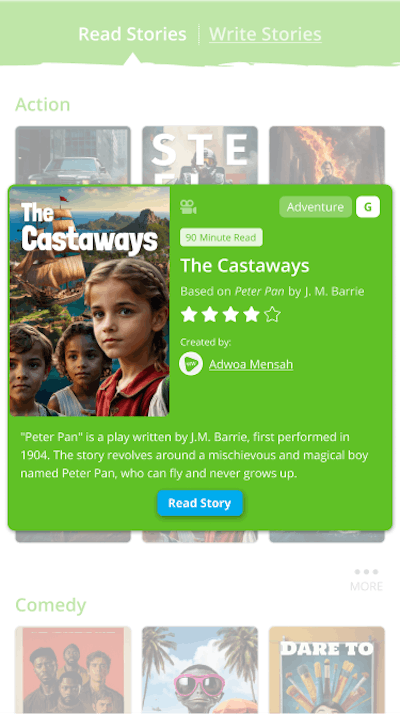
Your story is now live! Showcase your creative vision to the world, where viewers can explore stories by genre, title, or ratings.
Get started writing your story now, so you can publish to Storyteller! Sign up here
In Storyteller, your written words are transformed into a compelling visual experience for viewers worldwide, giving them a glimpse into your imagination better than any black-and-white page can.
Get started writing your story now, so you can publish to Storyteller! Sign up here
Grow an army of supporters and elevate your status by engaging with your audience. Build a following around you and your work using your story’s built-in Discussions feature.
Get started writing your story now, so you can publish to Storyteller! Sign up here
Showcase your experience, accolades, and the stories you’ve written in your Creator Profile. Put your work out there and let the world know whether your stories are available for purchase, optioned, or are already sold.
Get started writing your story now, so you can publish to Storyteller! Sign up here
SoCreate promotes your work to a range of publishing and entertainment industry pros who can contact you directly through a messaging channel made just for them. SoCreate is the best place to showcase your work, build an audience around your stories, and to entice producers and studios to reach out.
Get started writing your story now, so you can publish to Storyteller! Sign up here
When it comes time to sell your story, simply export it to the traditional screenplay format with one click. Instantly, it's ready for review, sale, and production for any buyer at any time!
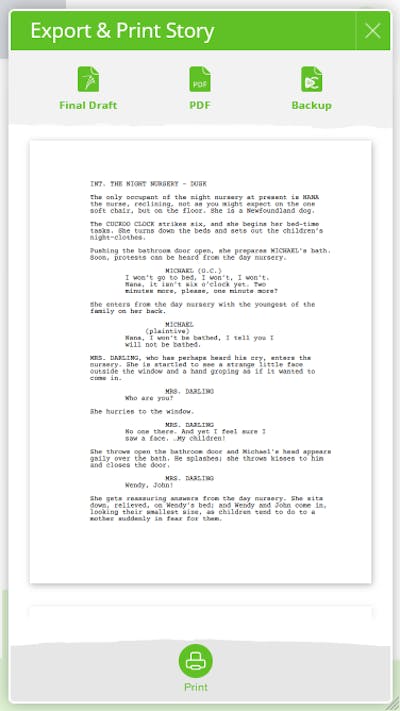
Discover seamless exporting: Learn More